Blender
Blender Modelling Tutorial
Blender’s 3D modelling features allow users to create a wide range of objects, from simple geometric shapes to complex models with intricate details. We will go through a brief tutorial on 3D modelling.
To create a basic lamp, we can start by using basic geometric shapes such as cylinders to create the lamp’s body and shade. You can then add textures and colours to create a more realistic look. Once completed, the lamp can be saved as a .blend file, which includes all the meshes, textures, and materials used to create it. The finished model can then be imported into game engines like Unity or Unreal and used in 3D projects by adding lights and adjusting its scale to fit the scene.
1. First, download Blender and start up a “New File” > General
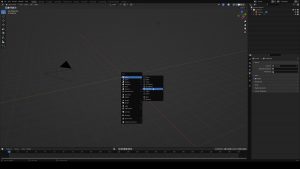
2. Add a cylinder, by pressing Shift + A (AddMenu)
3. Select the newly added cylinder by left clicking, LMB
4. Extrude selected Cylinder by pressing E, and scale by the Z-axis, by pressing Z immediately after
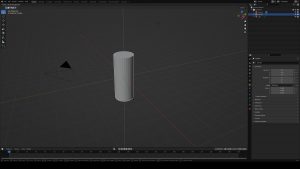
4a. Extruding without Z-axis, will scale all sides of the model equally
5. Toggle Edit Mode by pressing Tab to edit individual vertices, edges, and faces of the model
6. In Edit Mode, create a loop cut by pressing Ctrl + R and using your middle scroll wheel to scroll how many cuts you want to create in your model
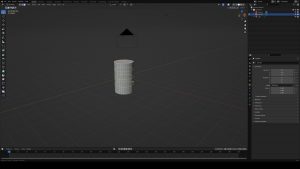
7. Ensure that you have selected vertices as your selection mode, to select all vertices in one line press Shift + Alt + LMB
8. Scale the selected row to create a tapered base
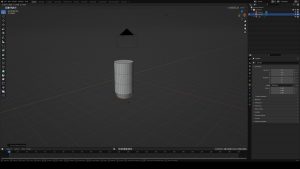
9. Continue step 7 and 8 for the corresponding lines to create a unique lamp body shape
10. Add a new cylinder model for the Lamp shade, Shift + A (AddMenu)
11. Scale the lamp shade to size, Move the new cylinder to the top of the lamp body by pressing G then Z to move along the z axis
12. Select all vertices in one line press Shift + Alt + LMB, scale down the top lamp shade to create a tapered lamp shade shape
13. Select faces of the top and bottom of the cylinder, press x to delete the two faces
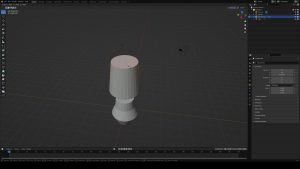
14. Once happy with the shape of your lamp, select the lamp body and go to Object> Shade Smooth to smoothen all the edges of the model
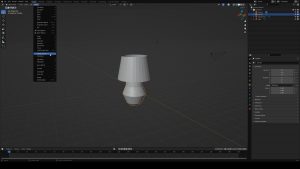
15. Add textures to your model, Open the material editor, shaped as a red circle
16. Add a NEW material on your selected object. In this case the lamp body. Create a new Image Texture
17. You will be prompted to import a file, select your jpg/png file as your texture image
18. Select UV Editing, to start editing the texture you apply to your mesh model.
19. Ensure you are in Edit mode, select a face on the body of the lamp. Press A to select all faces of the body lamp.
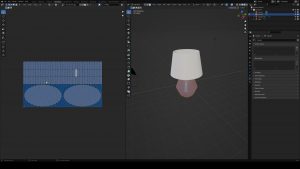
20. Once all faces are selected, Press S to scale the faces of the model in order for the scaling of the texture to look accurate
21. Repeat step 21, for the lamp shade, and your lamp shade texture of your choice
22. Move your lamp object to the origin by selecting the bottom face
23. With the face still selected, Press Shift + S, then select “Cursor to Selected”
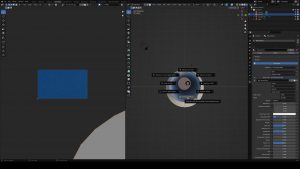
24. Next, Go to the “Object” dropdown menu and select “Set Origin” > Origin to 3D Cursor
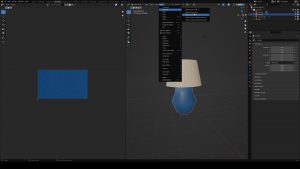
25. To scale your object, first parent the object, to group your separate objects together
26. Then scale your object 1:1 by pressing S, to the desired size

