
Main Body
Chapter 2 • GitHub as a Web Server
What is GitHub?
GitHub, owned by Microsoft, is a free platform that allows software developers (including web designers) to create, manage, distribute, and share code. GitHub is a great way to publish web pages. The intricacies of adding, displaying, and deleting files do take getting used to, which is the reason for this chapter. The site allows a maximum file size of 25MB so be careful of large image and especially large video files.
Github is not confidential. Anyone who knows your username can see your files because the point of the platform is to share information.
Reminder: Your Login and Your URL Are Different
Login for you to upload files (do not submit):
https://github.com/youruserid
URL to see your files on the web (submit this):
http://youruserid.github.io/repositoryname/
The first file should be named “index.html” (lowecase “i”) to load automatically. You must “deploy” your repository for it to be visible on the web.
Making a Github Repository
- Go to github.com, create an account, and log in.
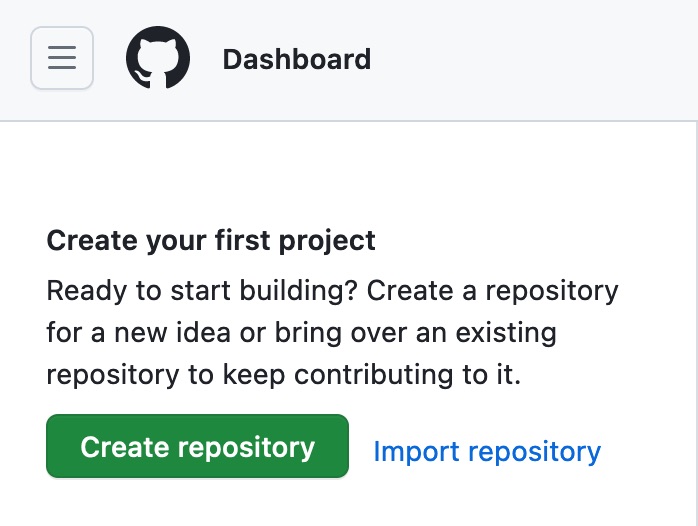
- In your Dashboard, click “Create repository“ (Figure 2-1 below). This will be the folder for your HTML files.
- The URL for a file named “index.html” will be: username.github.io/repository/index.html.
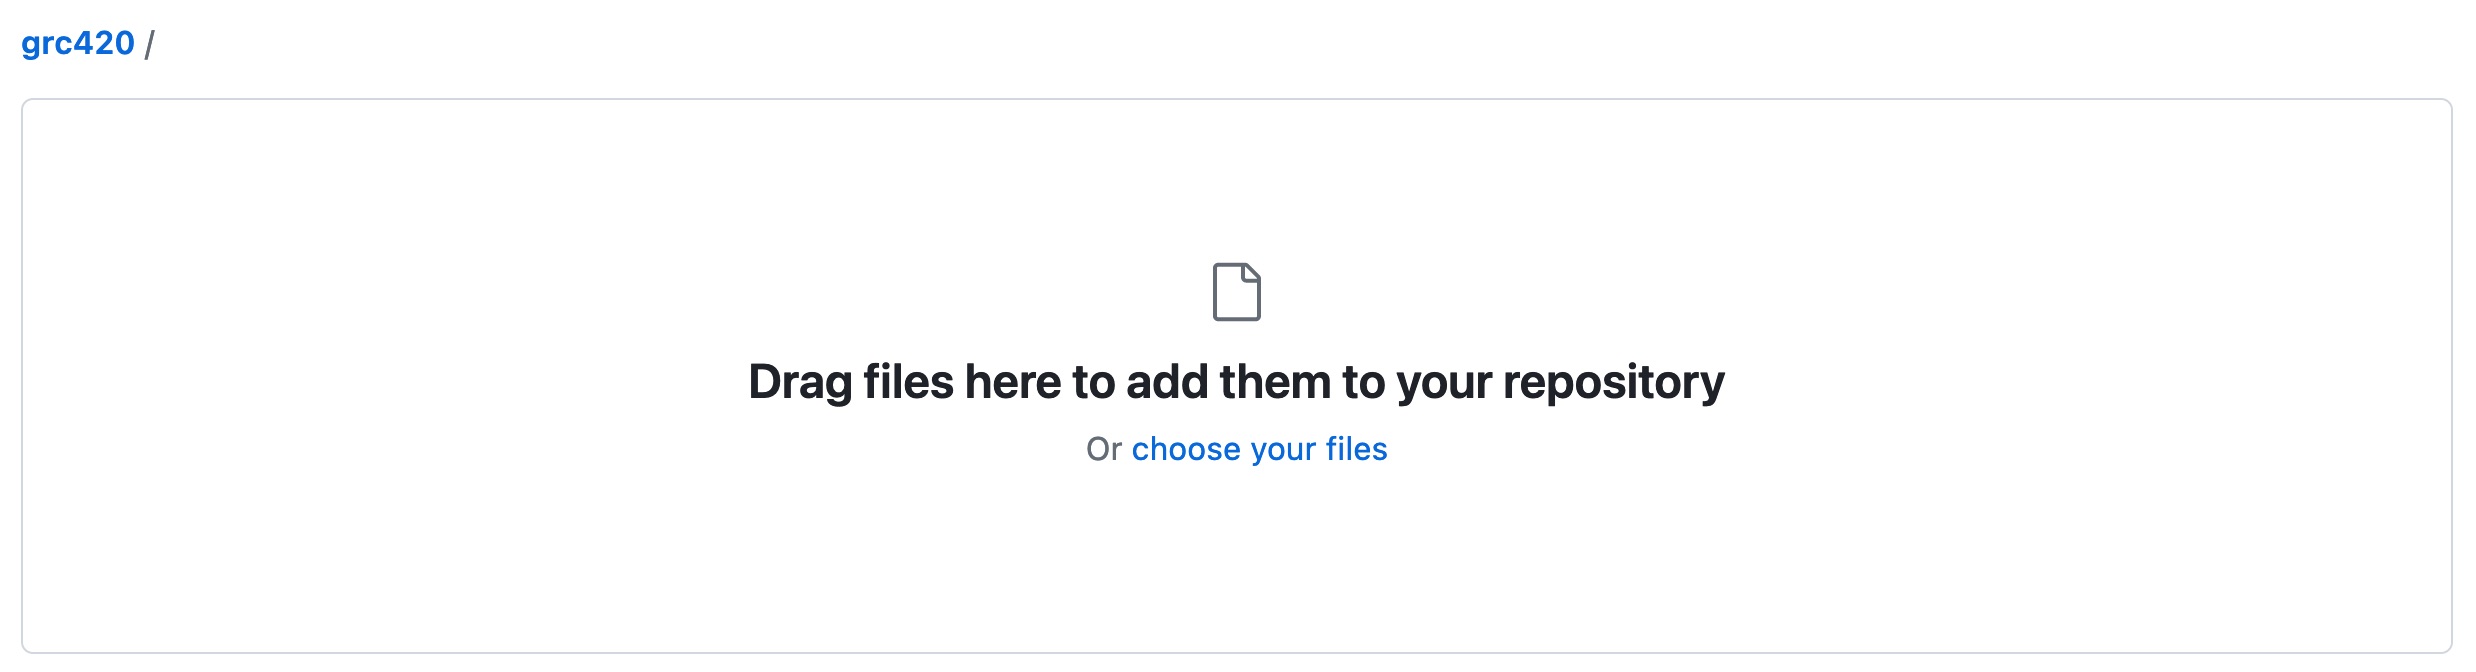
- In the respository, click Add file > Upload Files, then drag-and-drop the files you want to upload into the window.
- At the bottom of the window, click “Commit changes.”
- To replace a file, re-upload the new file; it will replace the old file of the same name.
- To delete a file, click on the file, then the three dots at the top right of the window, and select “Delete.”
Preparing Files for Upload
- Make a “gold master” folder on your desktop called “site” or some other name.
- Place your .html files and any linked css, image, video, font, or other files into this folder.
- I recommend using all lowercase letters and avoiding spaces in file names. Use “index.html” for the home page, which will load automatically.
- Preflight the web pages by opening in a browser, checking for proper display, missing images, and broken or incorrect links.
- Select all the files and upload to your Github repository.

Setting File Visibility and Deleting
- After uploading your files to a Repository, click the Settings button at the top, Pages at left, and scroll down to Select “main” as the deployment (Figure 2-5 below).
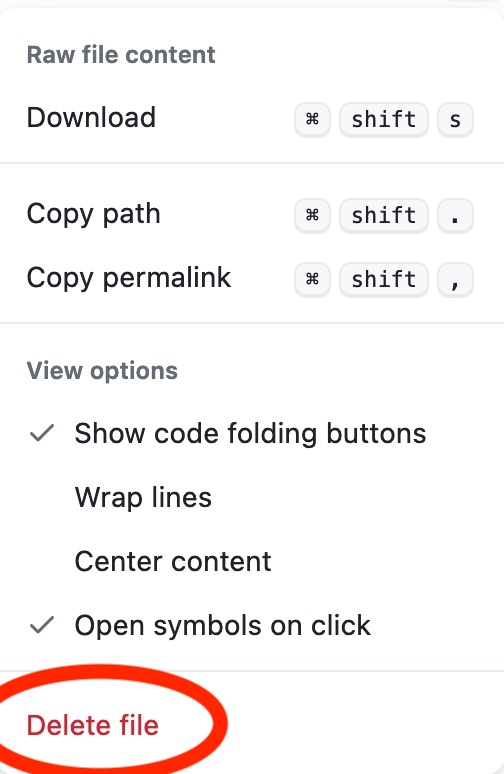
- To delete a file, click on the file. From the three dots at right, select Delete File (Figure 2-6 below).
- To delete a repository, go to the repository, select Settings, and scroll down to “Danger Zone” > Delete this repository.

| Quick-Reference Guide to Github | |
| Task | Path |
| Create Repository (Folder) | Home > Repositories > New |
| Delete Repository | Click on repository > Settings > Delete this repository |
| Rename Repository | Repository > Settings > Rename |
| Make Repository Viewable | Repository > Pages > Source > Deploy from a branch > Main |
| Add Files to Repository | Repository > Add File |
| URL for your files | github.com/[userid]/[repository-name] |
| URL for your page | [userid].github.io/[repository-name] |
